¶ Directories
Directories allow you to easily list businesses or organisations on your website so that Users can easily find their details.
When added to a Page, a a list of all Entries within the Directory will be shown. If a User wants more information about a particular Entry, they can click it and more details will be displayed.
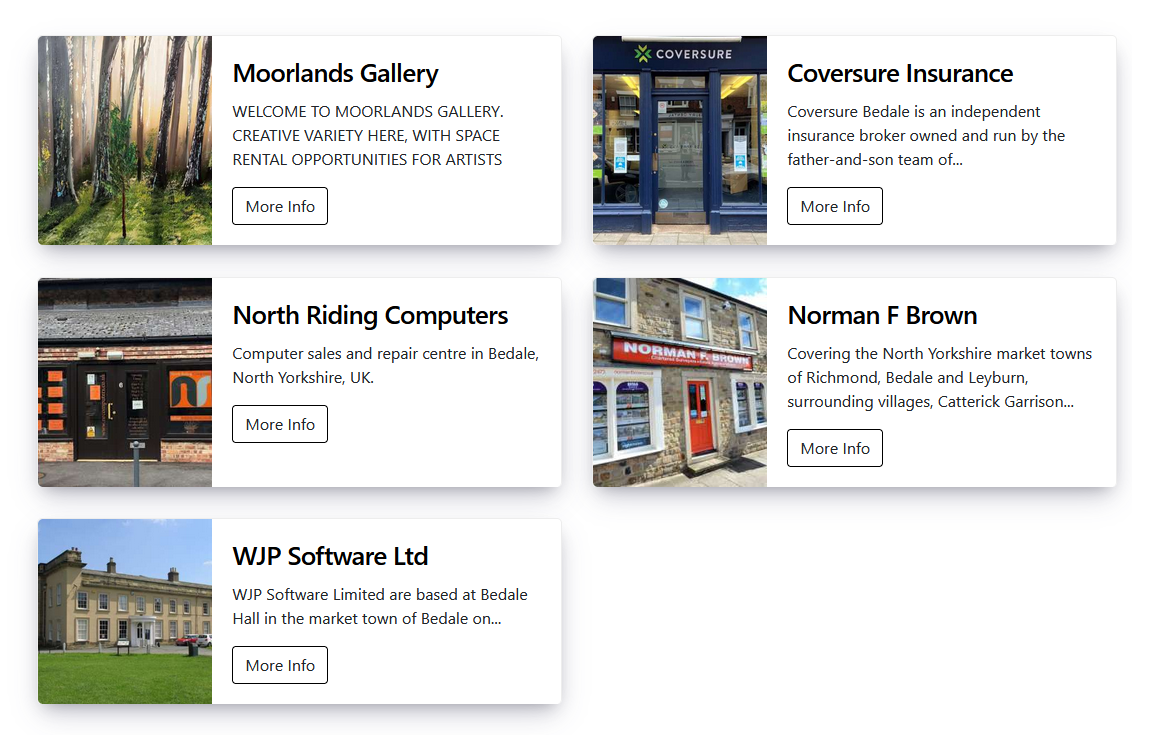
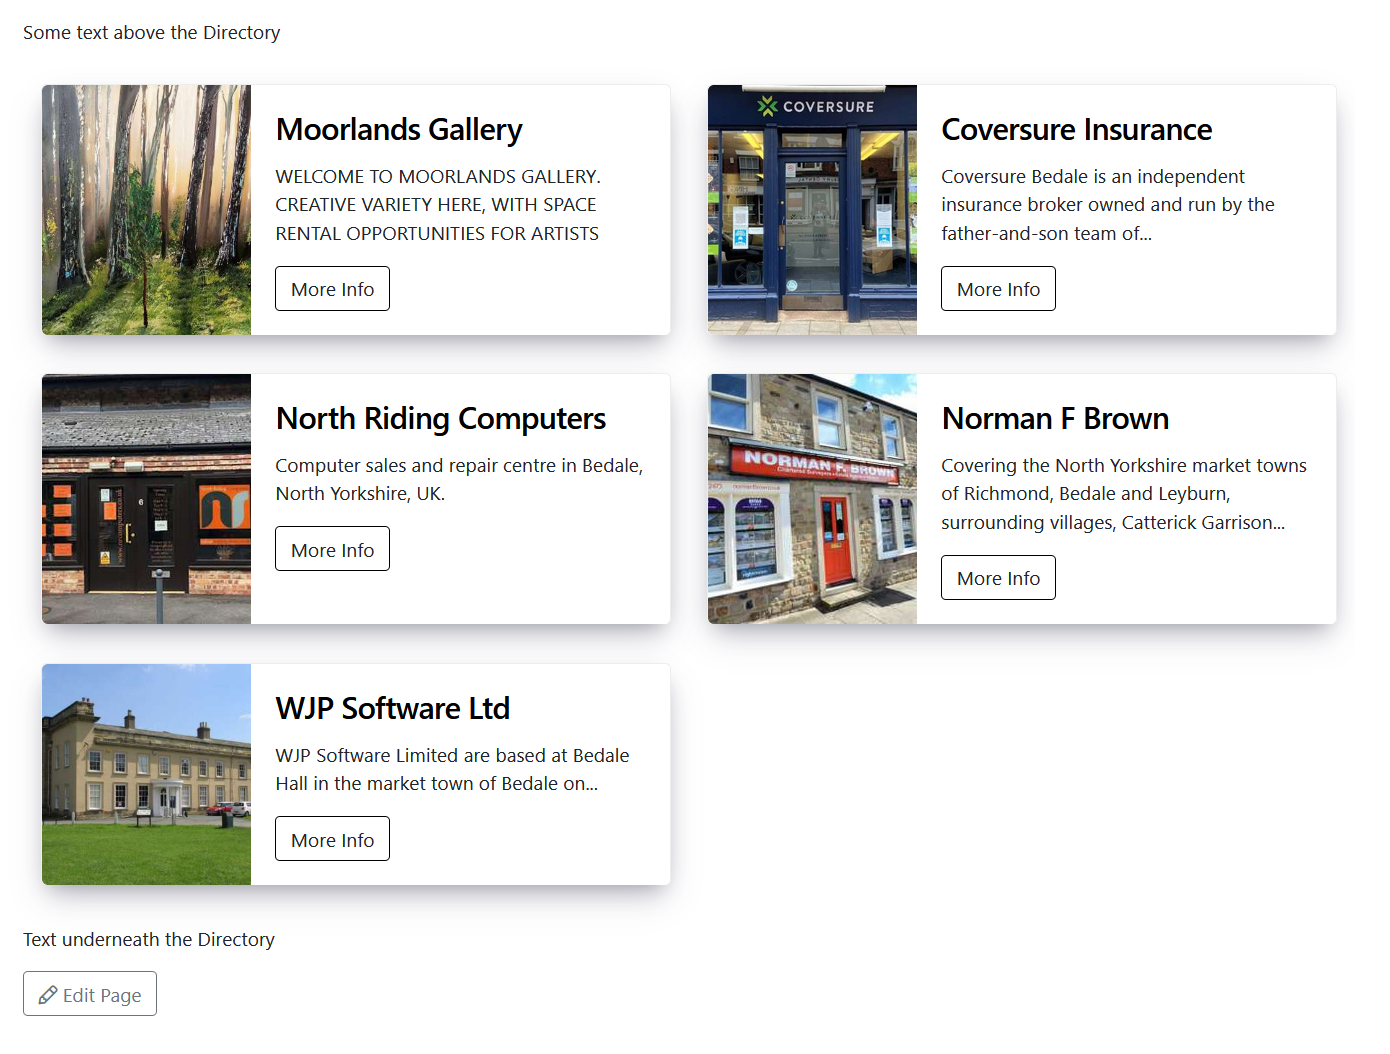
Example of a directory being output on a page:
Example of a directory entry being selected:

¶ Accessing the Directory Manager
The Directory Manager allows you to view, add and modify the various directories on your website.
One a Directory has been added Entries can be added to it which can then be displayed on your site's Pages.
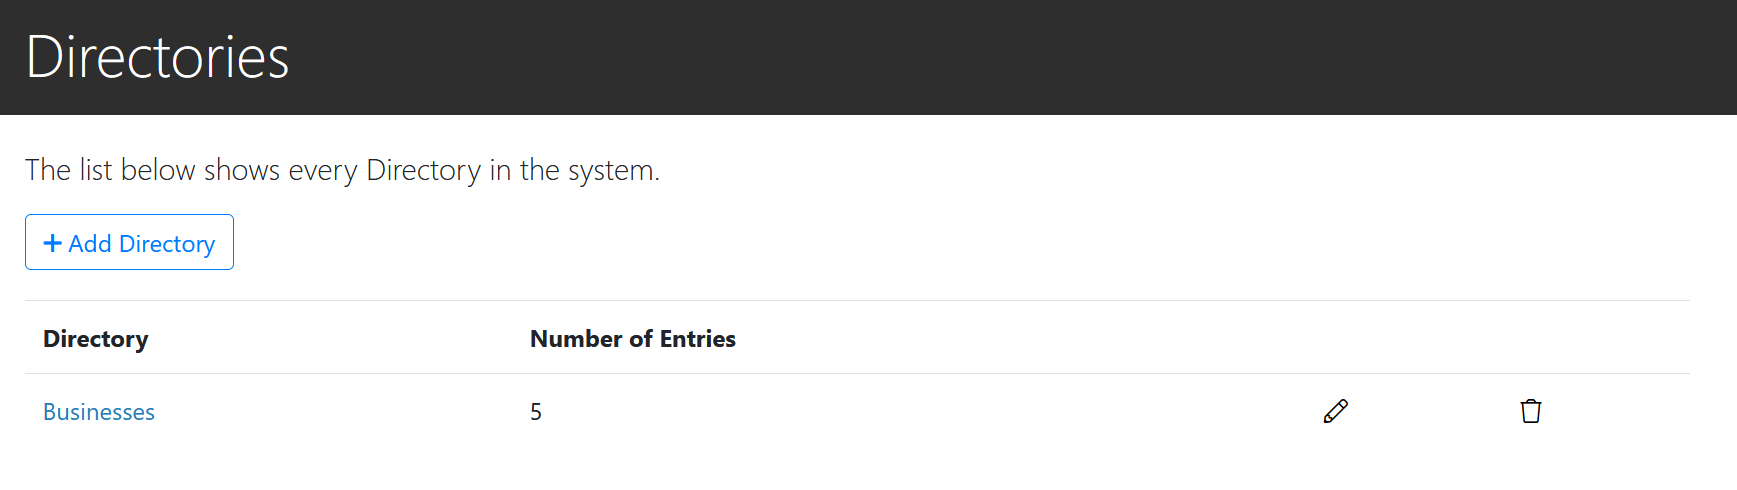
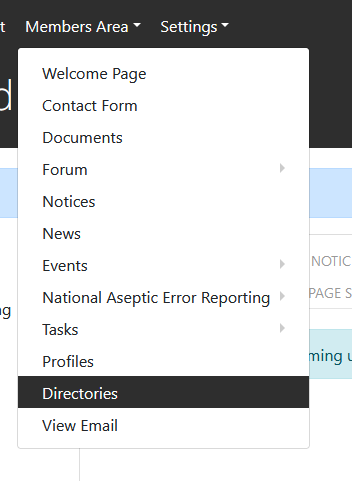
It can be accessed via the Main Navigation Menu, through Member's Area > Directories when logged in as a Site Administrator.
¶ Adding a Directory with Entries
¶ 1. Add a Directory
Within the Directory Manager click the 'Add Directory' button.

You can then enter a name for the Directory that best describes what it contains.
Once a name has been entered, click the 'Add Directory' button to Save the directory.
You should then see a confirmation banner above the form:

Click the 'Back to Directories' button to go back to the list of Directories and you should see your newly created Directory which can now have Entries added to it.
¶ 2. Add Entries to the Directory
Within the Directory Manager, click the name of the Directory you want to add an Entry to:
This will then display the Entry Manager where you can view/manage all Entries for your chosen Directory:

To add a new Entry, click the 'Add Entry' Button.
You will then be taken to a form with the following fields:
- Name
The Name of the Entry. This will be displayed as the main heading when added to a Page.
eg. for a business listing, this would be the business name. - Image
An Image that will be used within the Entry listing when inserted into a Page. Choose one that is representative of the Entry being added.
If no image is selected, a random colour will used instead. - Address
The address of the business/organisation in the current Entry.
Enter the address with commas:
eg. 13 High Street, Bedale, North Yorkshire, DL7 1AA
You don't need to add the Entry's name to the beginning of the address as this will be done automatically using the 'Name' field. - Telephone
The telephone number of the business/organisation in the current Entry
Please only enter a single telephone number as this will form the basis of a link that Users can select to call this number from their phones. - Email
The email address of the business/organisation in the current Entry. - Website
The website of the business/organisation in the current Entry. - Description
A description of the business/organisation in the current Entry.
Enter the details relevant to your entry (Name and Description are required):
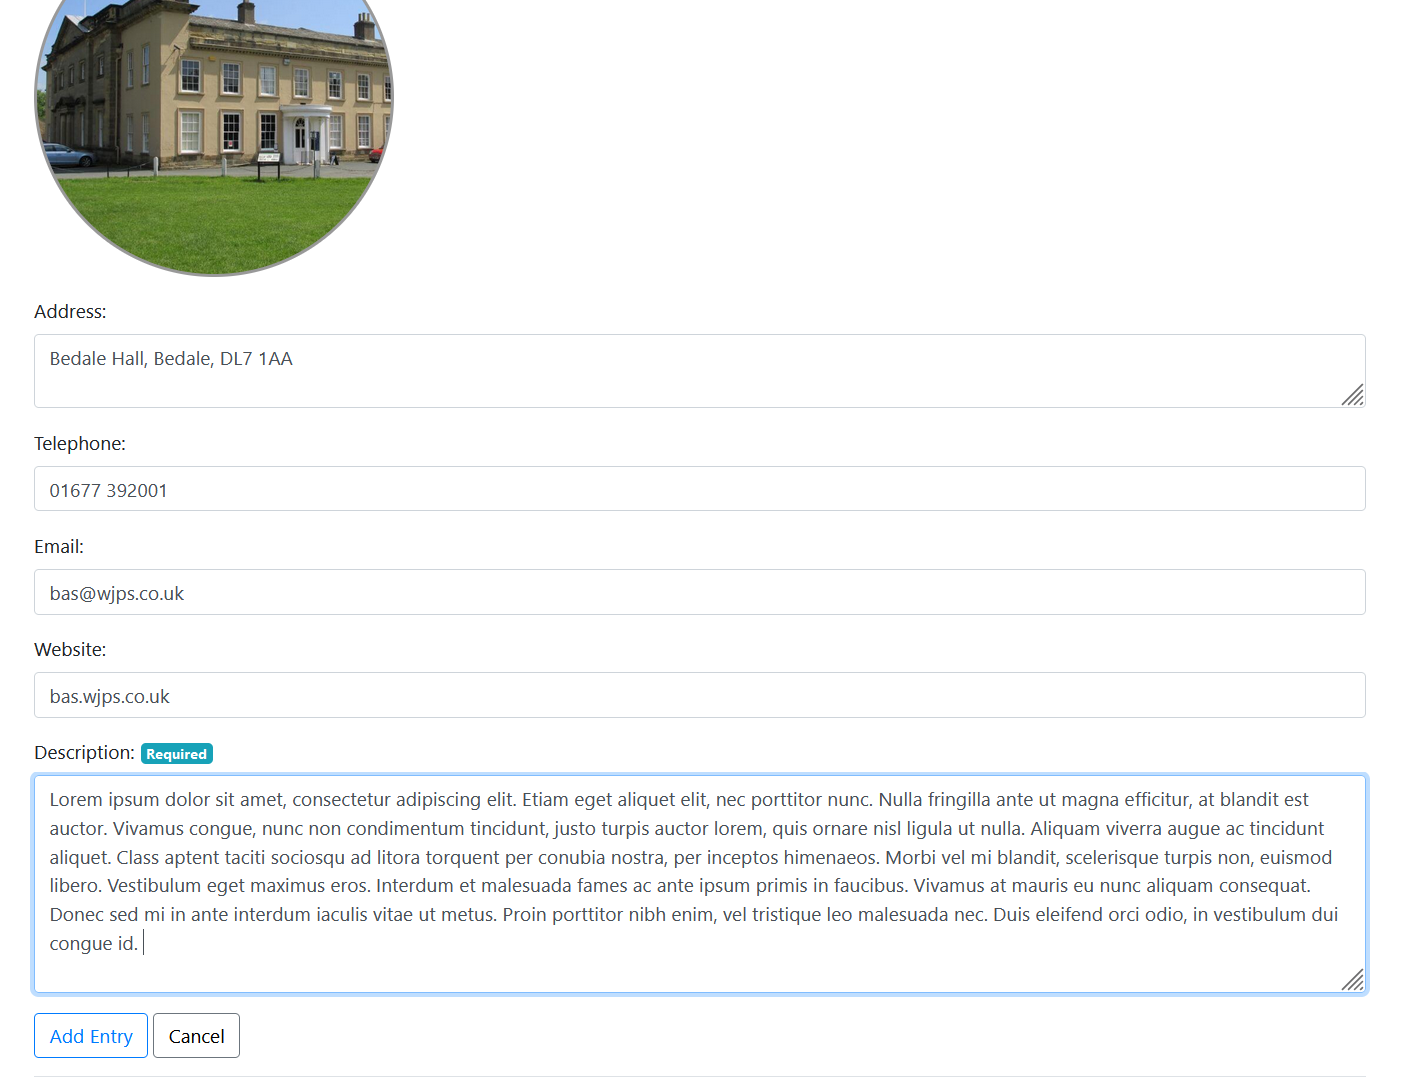
Once all details have been entered, Click 'Add Entry' to save.
You should then see a confirmation banner at the top of the page that the Entry has been saved successfully.
You can then click the 'Back to Entries' button to go back to the list of Entries for the currently selected Directory.
You should see the Entry you just created:

You can then add further Entries by repeating the 'Add Entry' process.
¶ Adding Directories to a Page
To add a Directory to a Page, go to the Page Edit Section for the Page you want to edit, either through the 'Pages' section, or by clicking the 'Edit Page' button at the bottom of the Page you wish to edit.
Once in the Page Edit screen, go to the Content Editor and place your cursor within the Editor where you want the Directory to go:
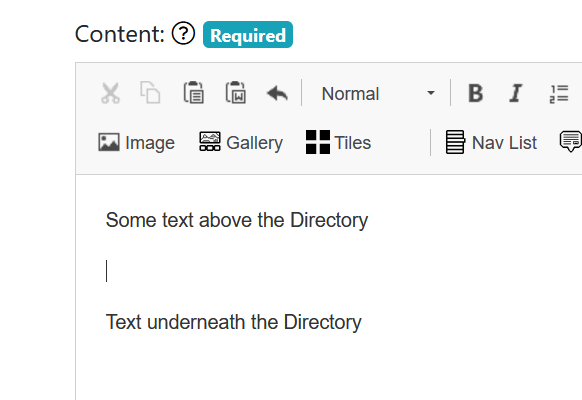
In the example above, the mouse cursor has been placed between the two lines of text, so that is where the Directory will go.
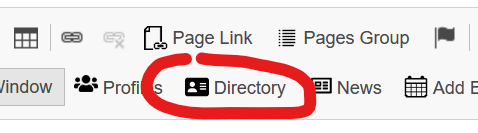
Once you have positioned your cursor, in the Content Editor toolbar, click the 'Directory' button:
This should bring up a dialog in which you can select which Directory you would like to display on the Page:
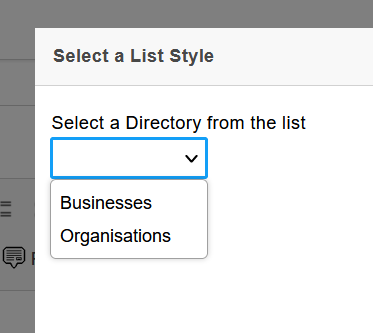
Select the Directory you want to display and then click the 'OK' button in the dialog.
You should see a piece of reference text inserted that looks something like this in your chosen position:
This is only how it shows within the Editor, for Users actually viewing the live Page, it will show as the Directory display.
You can then save the Page, and then Preview it to see how the Directory looks within your Page:
¶ Re-Ordering Entries within a Directory
To re-order the Entries within a Directory go to the Directories section and then click on the name of the Directory that you wish to modify to see all entries within it.
Click on the Grey section of left of the Entry and hold + drag it to your newly desired position within the list:
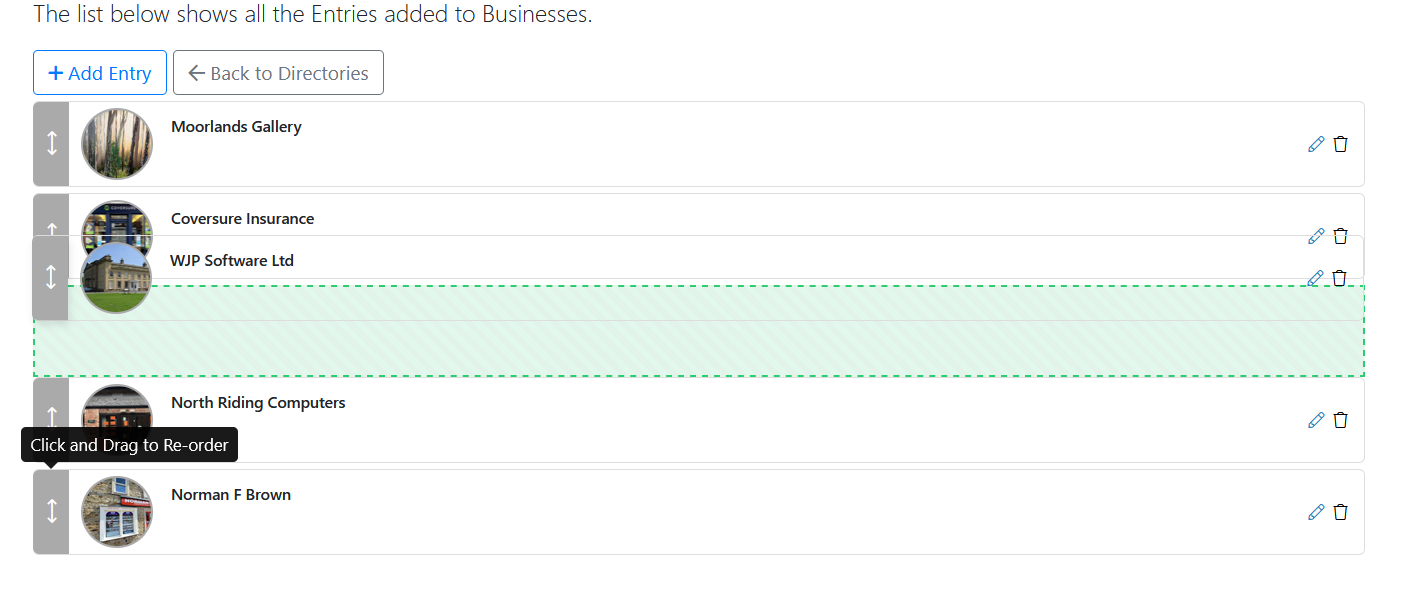
You should see a Green outline of where the Entry will be placed once the mouse button is released.
Once you're happy with the position, release the mouse cursor and the Order should be saved automatically.
¶ Editing/Deleting a Directory Entry
To edit or a Directory Entry, in the list of Entries, click the pencil icon on the right-hand side of the Entry you wish to edit, or alternatively click the rubbish bin to delete it.
