¶ Profiles
Profiles allow you to enter in the details of key people within your organisation that you may choose to display on certain pages of your site.
¶ Profile Manager
The Profile Manager allows you to view, add and modify your existing Groups of People.
It can be accessed via the Main Navigation Menu, through Member's Area > Profiles when logged in as a Site Administrator.
-
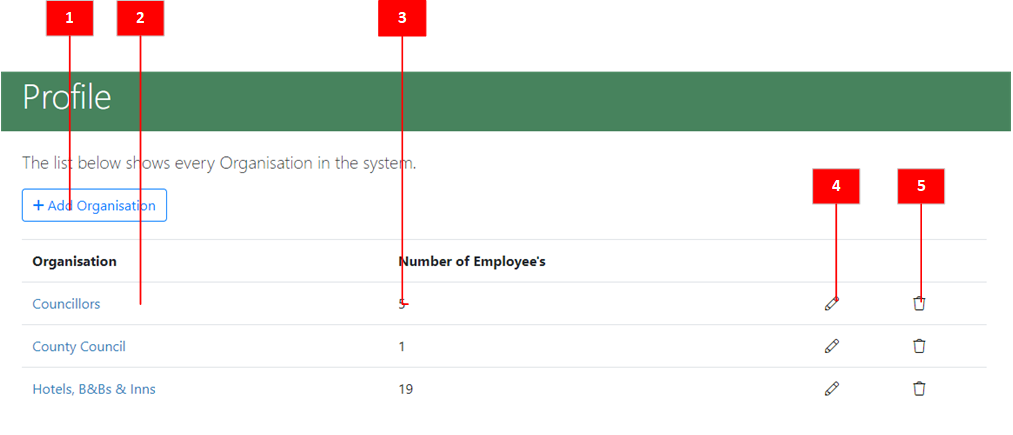
Add Organisation: Add a new Group of People (See: Adding an Organisation).
Note: The collective name can be changed from 'Organisation' to your own preference within the Site Settings section. -
Organisation Names: Displays a list of all your created Organisations. Clicking on the name will allow you to Add or Edit the Members Profiles (See: Adding/Editing a Profile)
-
Number of Employee's: This displays how many Member's are in each Organisation.
-
Edit Organisation Name: Edit the name of the Organisation.
-
Delete Organisation: Deletes the selected organisation, and all Members within it.
¶ Adding an Organisation
-
Navigate to the Profile Manager section (Member Settings > Profiles in the Main Navigation Menu).
-
Click on the Add Organisation button
 above the list of existing Organisations.
Note: The collective name can be changed from 'Organisation' to your own preference within the Site Settings section and so this button may display a different term. -
On the page this brings up, enter a name for the new Group and click the Add Organisation button below.

You should then receive confirmation that your Group has been created successfully:

-
Return to the Profile Manager and your Group should now be visible:
-
Now that a Group has been created, Profiles can be added to it.
¶ Profile Member Manager
The Profile Member Manager displays all current Member Profiles within the selected Group, and allows you to Add a new Profile, or Edit, Reorder and Delete existing Profiles.
-
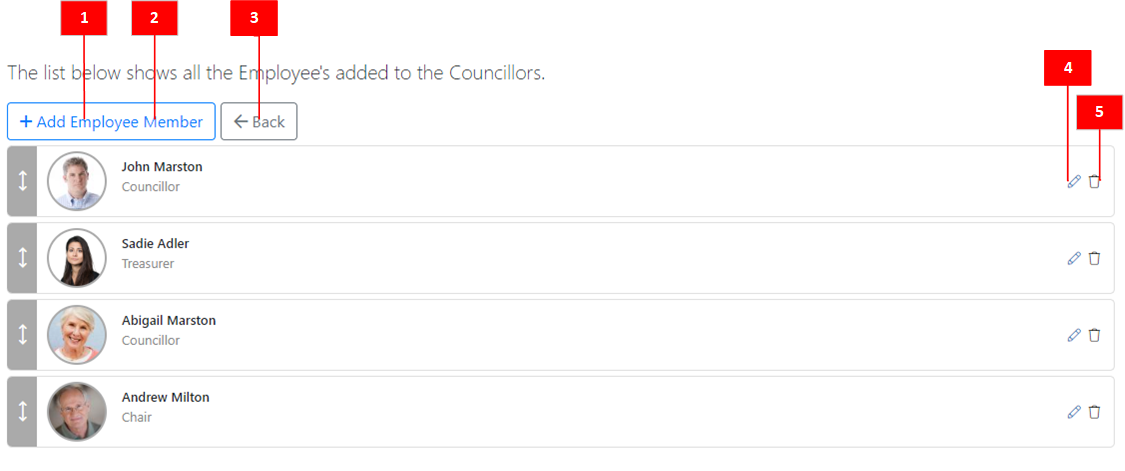
Add Member: Add a new Member Profile to the selected organisation (See: Adding/Editing a Profile).
Note: The name that Group Members are referred to as is set in the Site Settings section and so may appear differently from the screenshot shown here. In this case, the Members are referred to as 'Individuals'. -
Member Name: The Profile entry for each member of the Group. Profiles can be re-ordered by clicking and dragging them to the desired location.
-
Back/: Return to the Profile Manager.
-
Edit Member Profile: Edit the details of the Members Profile.
-
Delete Member Profile: Deletes the relevant Profile from the Group.
¶ Adding / Editing a Profile
Once an Organisation has been added within the Profile Manager, Member Profiles can be added to it.
- In the Profile Manager, click on the name of the Organisation that you wish to add Member Profiles to.

This will then open the Profile Member Manager.
- In the Profile Member Manager, click on the Add Member button

Note: The name that Group Members are referred to as is set in the Site Settings section and so may appear differently from the screenshot shown here. In this case, the Members are referred to as 'Employee'.
- This will open a form in which the Member's profile details can be filled in and (if necessary) a profile Image loaded from your device:
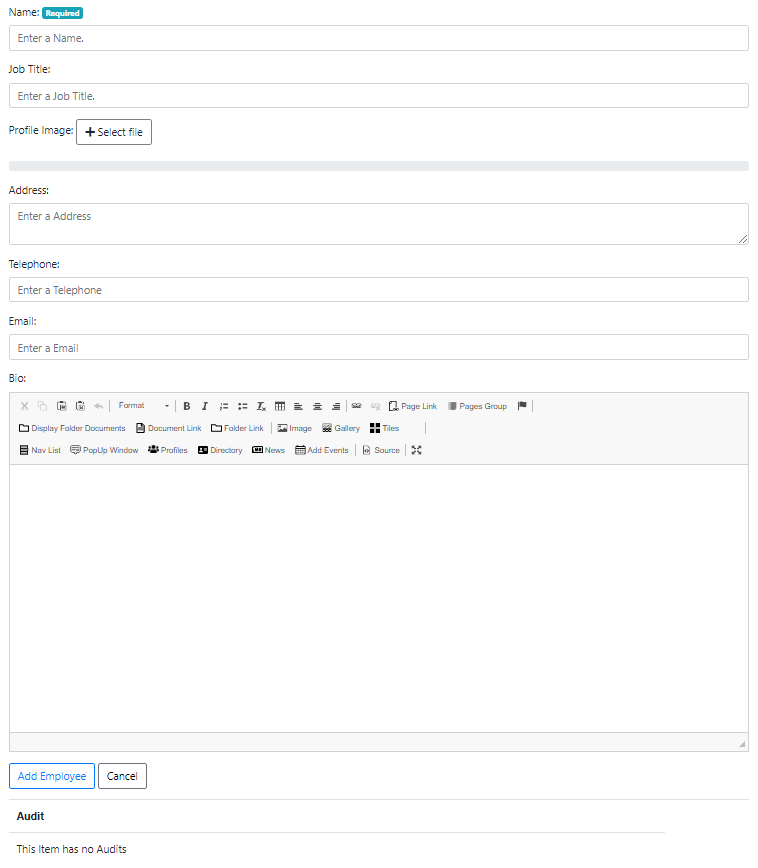
4.Once the relevant details have been entered, click the Add Employee button below the form and they should now have an entry in the Profile Member Manager.
Note: The name that Group Members are referred to as is set in the Site Settings section and so may appear differently from the button shown here. In this case, the Members are referred to as 'Employee'.
¶ Adding Profiles to a Page
Once a Group has been added and has had Member Profiles created within it, these can be then be displayed on any user-editable page of your WCS site.
Note: If you add a new Profile to a Group, all pages in which that Group's Members are displayed will update automatically, no further editing of the page required!
-
Go into the Page Editor of the page you wish to add the Profiles to, and in the Content Editor select the Profiles button
 .
. -
In the Pop-Up window that appears, select the Style of how you want the Group to be displayed (See: Profile Display Styles), and the the Group whose Member's Profiles you want to display:
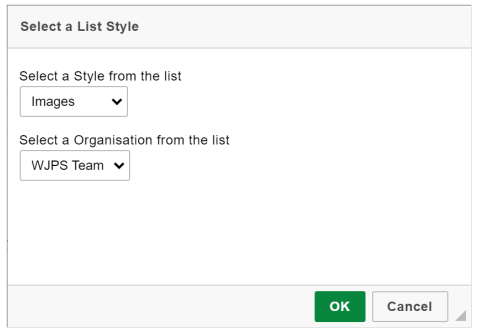
and then click the OK button  to add them to the page.
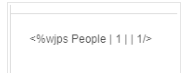
- A special code will then appear within the Content Editor:
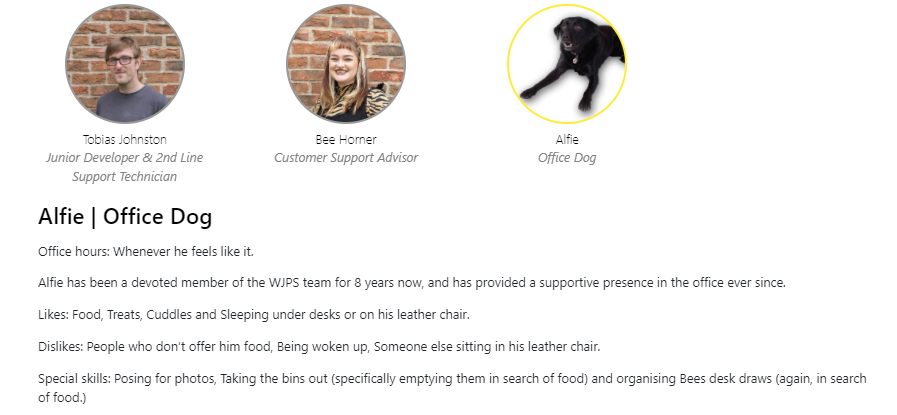
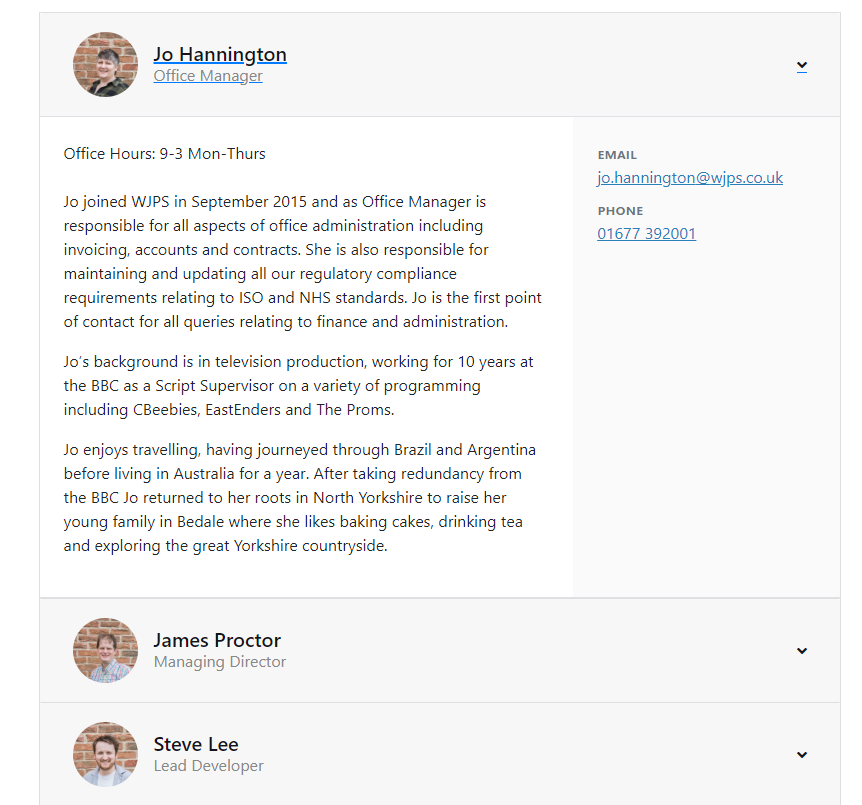
Which will translate into your chosen Profiles and Display Style when the page is saved and viewed:
¶ Profile Display Styles
Different Profile Display Styles can be selected when Adding Profiles to a Page so you can choose the most appropriate format for your intended application.
Below are examples of how the same Profiles appear with each different option that can be selected:
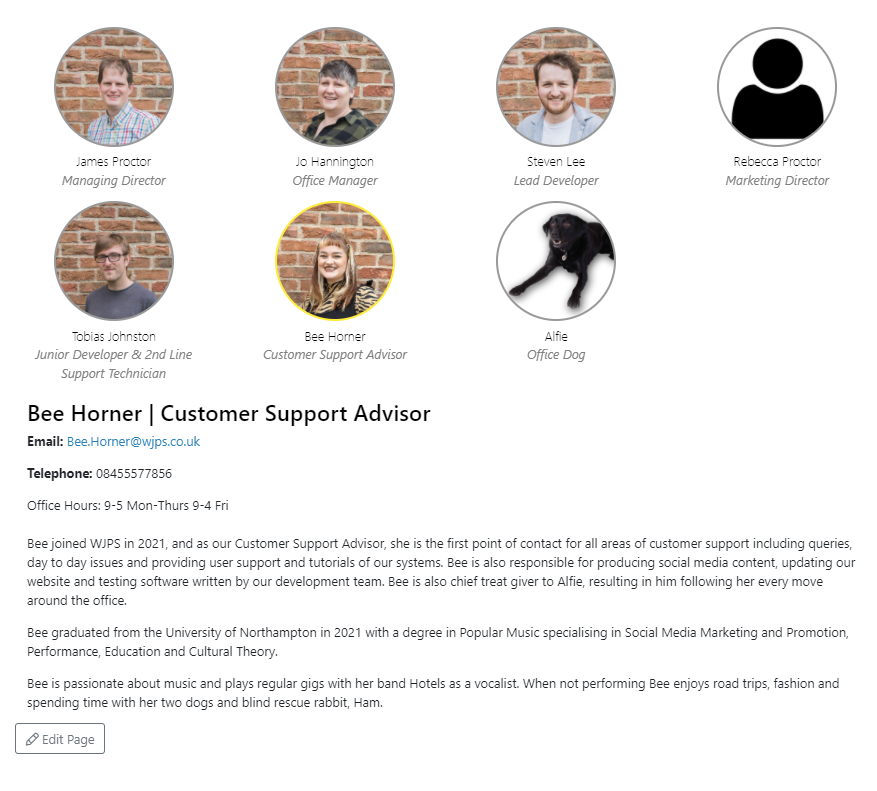
- Images
This displays the profile pictures of each Member in the Group, each of which can be clicked to view the relevant Member's information.
The currently selected Member is denoted by a Yellow highlight around their profile picture.
- Table
This will display each Member in a line of a table. Each line can the be clicked to access more information and the profile photo of the relevant Member.
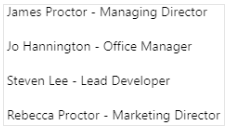
- Link List
This is a plainer text display option that will display each Group Member's name as a clickable link to a page of your choice.