¶ Tiles
Tiles are an attractive and visually engaging way of highlighting different sections of your website to encourage Users to visit them or displaying useful information.
There are 3 types of tiles available :
¶ 1. Photo Background
When added to a Page, photo background tiles form a grid of clickable images overlayed with text. These can be used to link to various Pages on your website that you want to draw Users attention to.
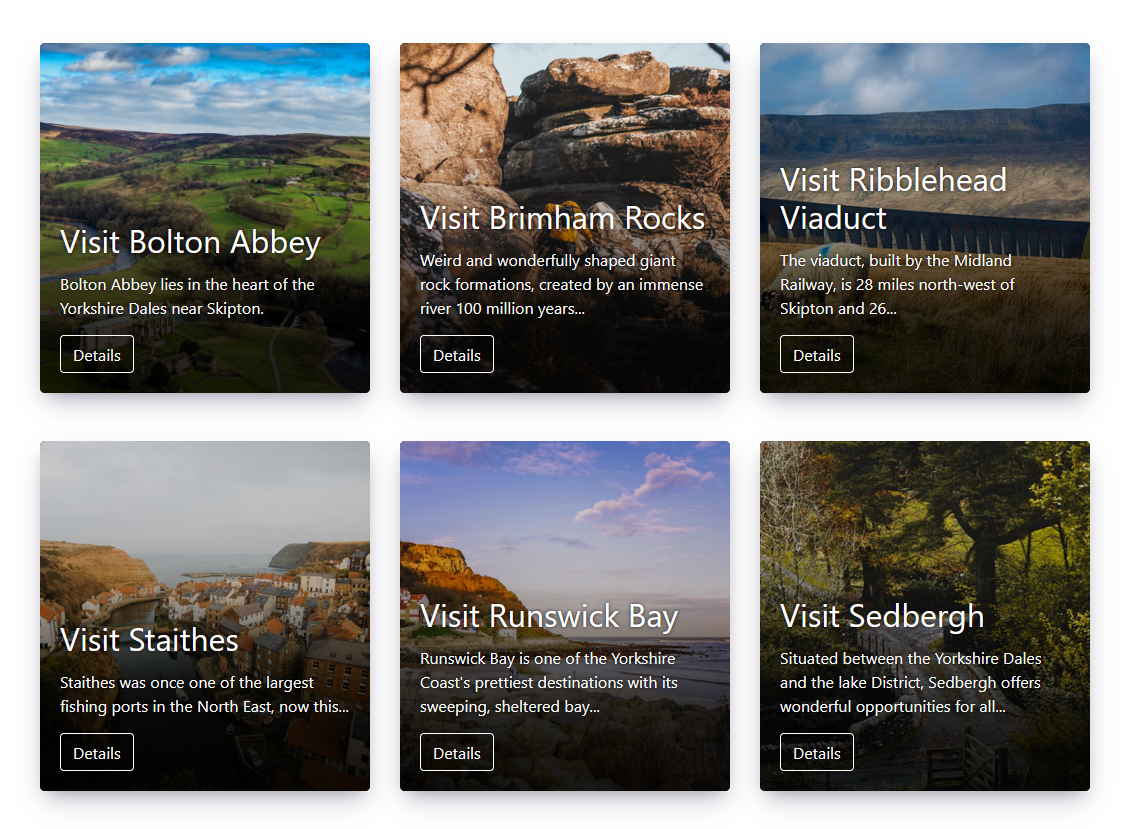
Each group of Tiles you create is called a 'Tileset'. A Tileset can contain as many Tiles as you like, and when you add the Tileset to a Page, it will display all the Tiles added to it.
¶ 2. Full Width
Full width tiles give space for more description and information along side a large image and a button to link to a page. They fit the full width of the page and the images alternate in each row to give a nice modern look.

¶ 3. Icon Paragraph
Icon Paragraph tiles are great for displaying instructions or small snippets of infomation. They don't link to anything but allow a nice clean design rather than just using text or a list.
![]()
¶ Accessing Tiles Section
To Add Tilesets and Tiles you must first be logged on as a Site Administrator.
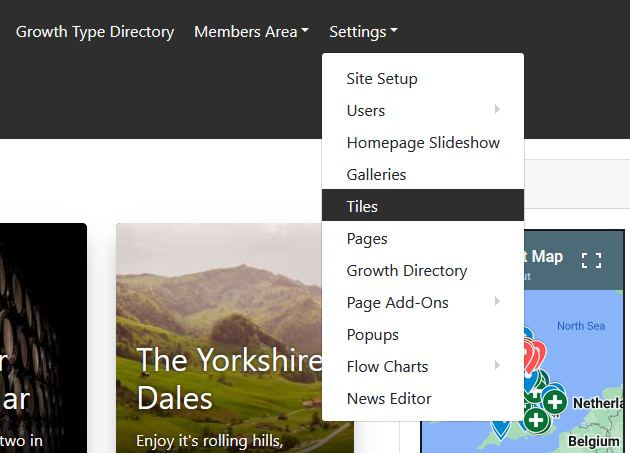
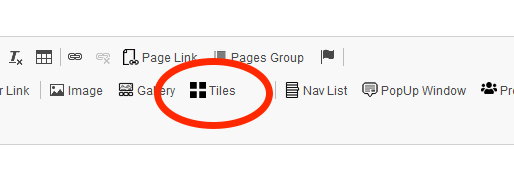
Then go to the 'Settings' menu and select 'Tiles' from the dropdown:
This will then take you to the 'Tileset Manager' that will allow you to add a set of Tiles.
If you don't see the 'Tiles' section within the Settings menu, you should contact WJPS as it may need to be enabled for your website.
¶ Adding Tiles
¶ 1. Create a Tileset
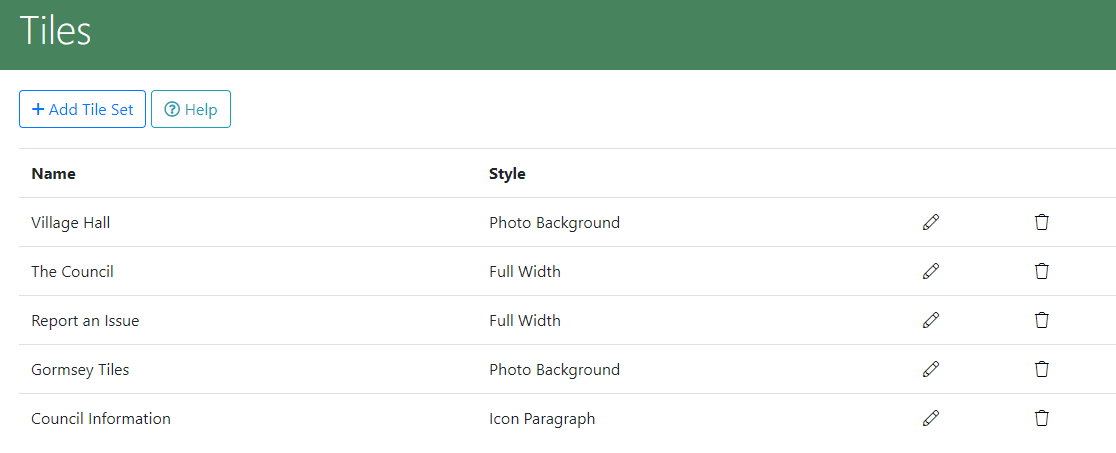
In the Tileset Manager create a set of Tiles by clicking the 'Add Tile Set' button:
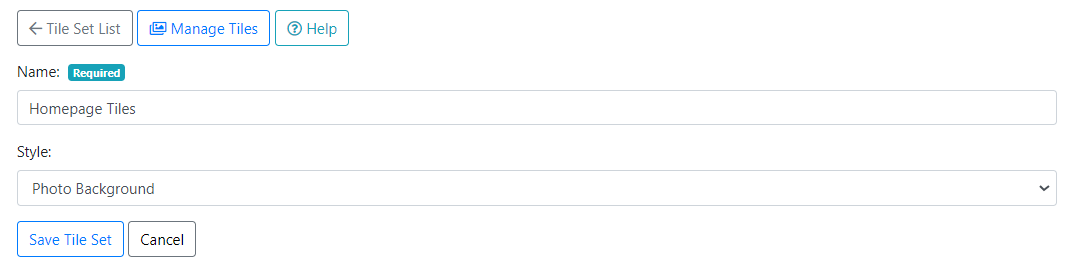
You can then enter a descriptive name for the Tileset.
This won't be shown anywhere to the User, but it will be useful for your own reference.
At this stage you will be able to select from a dropdown menu which style of tiles you wish to add from the 3 choices above.
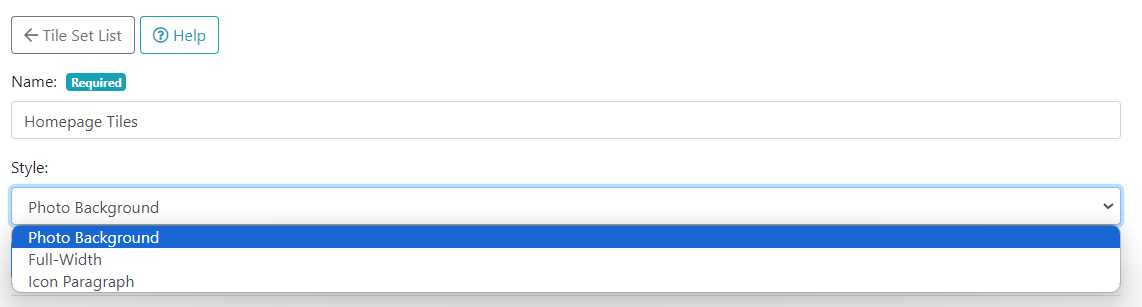
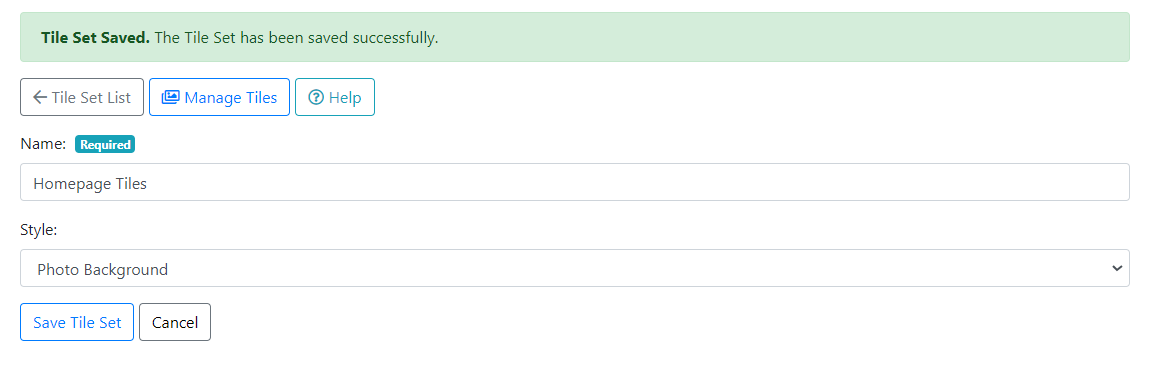
Once you've entered a name and selected a style, click 'Add Tileset'.
You should get a confirmation that your Tileset has been saved and a new button 'Manage Tiles' will appear.
¶ 2. Adding Tiles to a Tileset
Click the 'Manage Tiles' button and you should get the option to add a new Tile to the current Set:
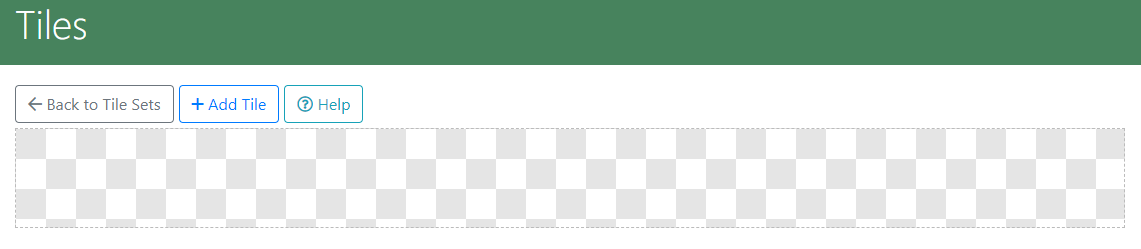
This screen will then look different depending on which sytle you have chosen
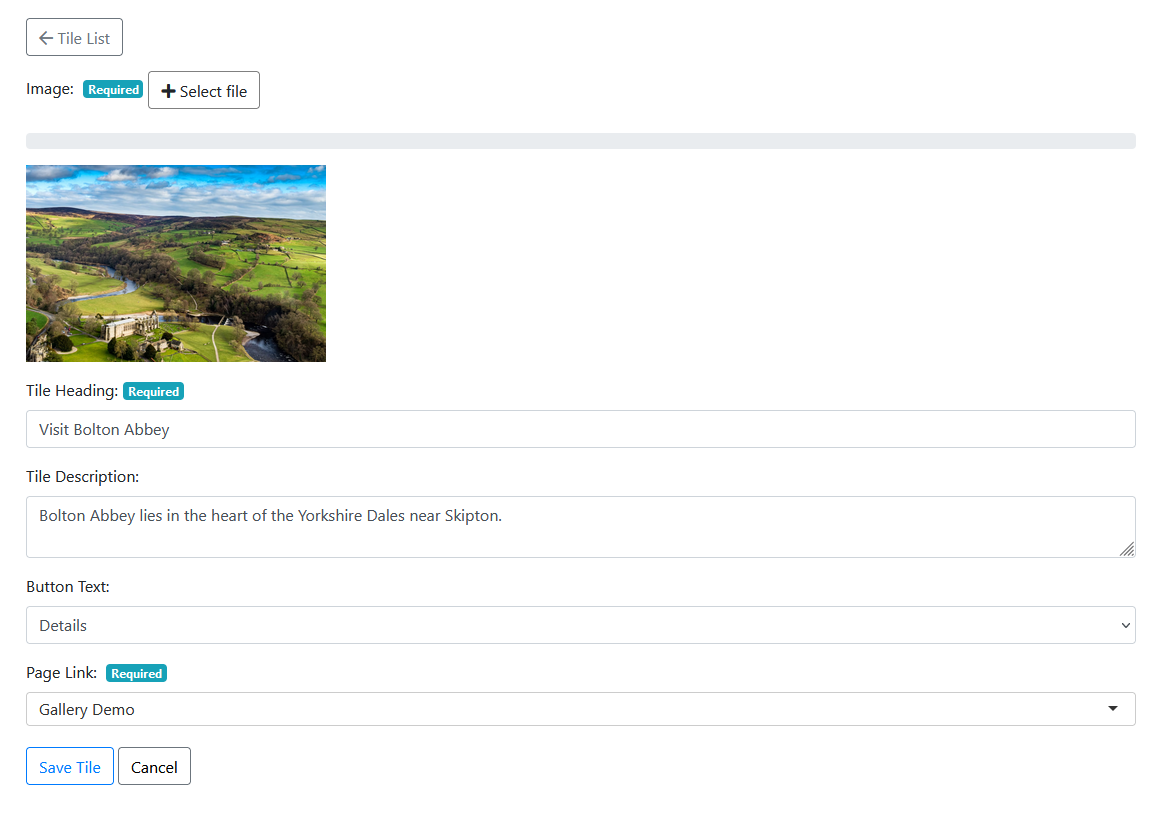
¶ For Photo Background Tiles
Click the 'Add Tile' button and fill in the form with the following fields:
- Image
This image will display in the background of the Tile and should ideally be related to the Page the Tile is linked to. - Tile Heading
The Heading for the Tile that will be shown over the background Image. - Tile Description (optional)
This will shown underneath the Tile Heading. - Button Text
This is the text on the button that will be shown at the bottom of the Tile to highlight the action that the User can take. - Page Link
Select the Page of your site that the Tile will link to. You can start typing the name of the Page you want to link to and the dropdown should automatically search and filter for you.
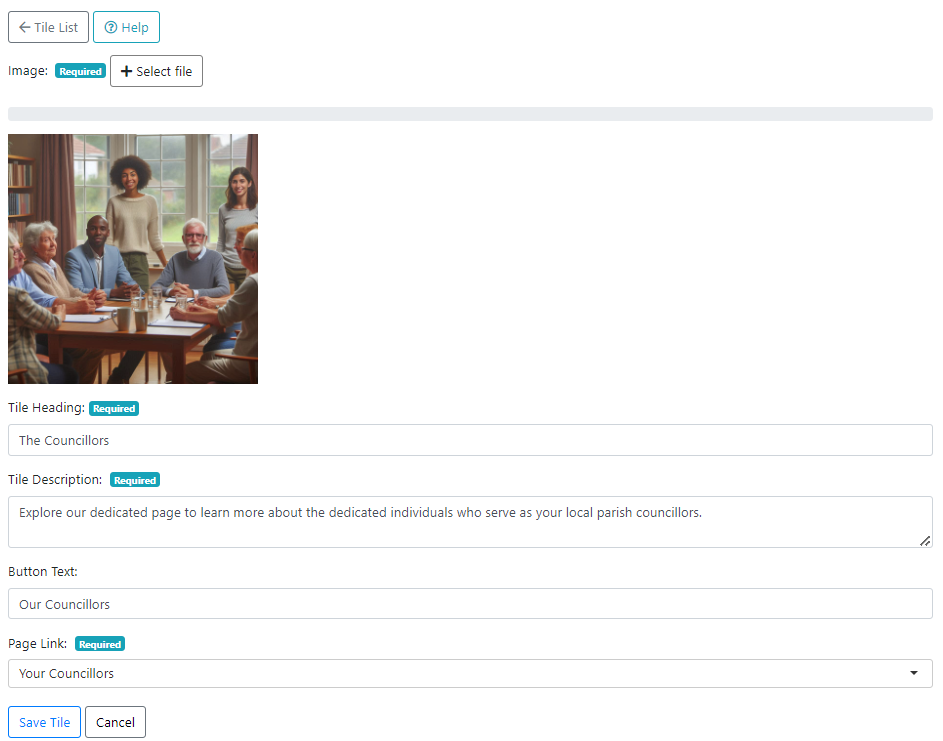
¶ For Full Width Tiles
Click the 'Add Tile' button and fill in the form with the following fields:
- Image
This image will display in one half of the tile. - Tile Heading
The Heading for the Tile that will be shown in bold above the body of text within the tile. - Tile Description
This will shown underneath the Tile Heading and is the main body of text within the tile. - Button Text
This is the text on the button that will be shown at the bottom of the Tile and is customisable on a full width tile. - Page Link
Select the Page of your site that the Tile will link to. You can start typing the name of the Page you want to link to and the dropdown should automatically search and filter for you.
¶ For Icon Paragraph Tiles
Click the 'Add Tile' button and fill in the form with the following fields:
- Icon
Select from the dropdown list an icon which best fits your tile content. - Tile Heading
The Heading for the Tile that will be shown in bold above the body of text within the tile. - Tile Description
This will shown underneath the Tile Heading and is the main body of text within the tile.
![]()
You can then click the Save Tile button and you should receive a confirmation that your Tile has been saved.
Once your Tile has been saved, you can then click on the 'Tile List' button at the top of the page, to go back the list of Tiles within this Tileset, and add more if you wish.
¶ Adding Tiles to a Page
Tilesets can be added to a Page with the Content Editor.
When Editing a Page in the Content Editor click in the place in your content that you'd like your Tiles to appear, then click the Tiles button:
You should then see a pop-up with a dropdown menu containing all of your Tilesets.

Select the one you'd like to add to the Page and press OK.
You should then see a little code snippet appear in the Content Editor:
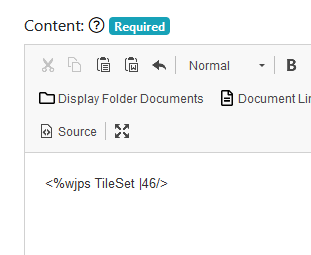
DO NOT remove or edit this. It will only show like this within the Edit screen - for Users viewing the Page normally, it will display the Tiles as intended.
Save the page and your Tiles should display when you View the page.
¶ Editing Tiles
¶ 1. Editing Tiles within a Tileset
On the list of Tilesets, click the Pencil 'Edit' icon next to the Tileset whose Tiles you wish to edit:
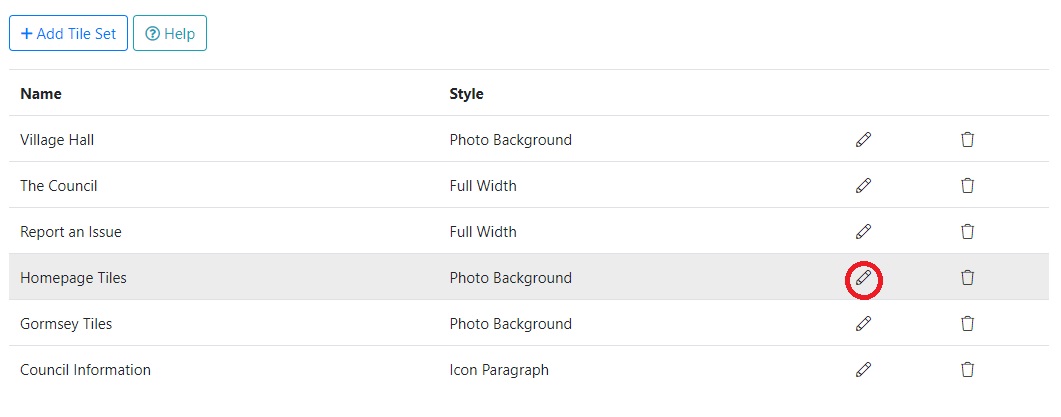
From this 'Edit Tileset' screen, you can then click on Manage Tiles to view all Tiles within this Tileset:
In the list of tiles, find the one you want to edit and click the Pencil icon, on the right of the Tile Entry:

¶ 2. Re-ordering Tiles within a Tileset
When in the List of Tiles within a Tileset, Tile can be re-ordered by clicking and holding the arrow handle on the left of the Tile entry, then dragging it to the desired place in the list:
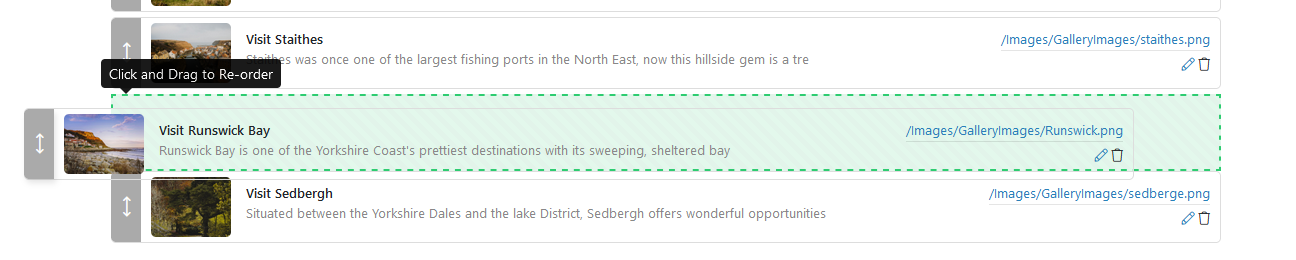
You should then receive confirmation that the Tileset order has been updated.